
Often its’ important to have some code snippets to be able to solve concreate task in NavisWorks via .NET API at C# language. Cause documentations is not always self explanatory. Especially in case COM API. So for Cutting and Section planes in navis samples Bello is able to do the job.
CONTENT
- Create Section via COM
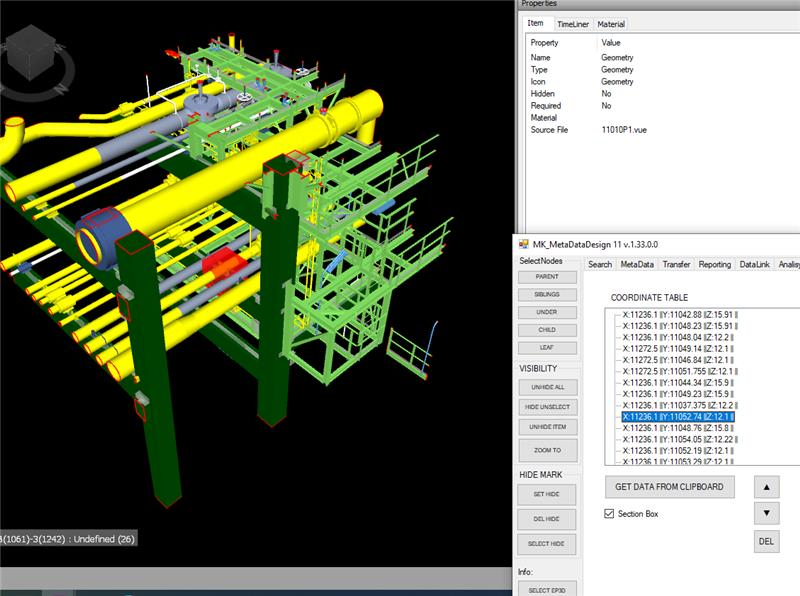
- Create NavisWorks Section Box via C# .Net API
- Add Sections Planes via Bridge COM
Create sectioning plane via COM
Origin was available here: http://adndevblog.typepad.com/aec/2012/08/create-sectioning-plane.html
Currently, only COM exposed some small API for sectioning. InwClippingPlaneColl can add the custom clipping plane. But InwClippingPlaneColl.Add method is not supported. This is because the COM wrapper in having to follow the underlying C++ code.
You need to use InwClippingPlaneColl2.CreatePlane. It passes in a 1 based index. Default planes will be created as required, up to and including this index. Then you modify the plane that is in the collection directly.
        private void createSectionPlane()
        {
            ComApi.InwOpState10 state;
            state = ComBridge.State;

            // create a geometry vector as the normal of section plane
            ComApi.InwLUnitVec3f sectionPlaneNormal =
                (ComApi.InwLUnitVec3f)state.ObjectFactory(
                Autodesk.Navisworks.Api.Interop.ComApi.nwEObjectType.eObjectType_nwLUnitVec3f,
                null,
                null);
            sectionPlaneNormal.SetValue(1, 1, 0);

            // create a geometry plane
            ComApi.InwLPlane3f sectionPlane =
                (ComApi.InwLPlane3f)state.ObjectFactory
                (Autodesk.Navisworks.Api.Interop.ComApi.nwEObjectType.eObjectType_nwLPlane3f,
                null,
                null);

            //get collection of sectioning planes
            ComApi.InwClippingPlaneColl2 clipColl =
                (ComApi.InwClippingPlaneColl2)state.CurrentView.ClippingPlanes();

            // get the count of current sectioning planes
            int planeCount = clipColl.Count + 1;

            // create a new sectioning plane
            // it forces creation of planes up to this index.
            clipColl.CreatePlane(planeCount);

            // get the last sectioning plane which are what we created
            ComApi.InwOaClipPlane cliPlane =
                (ComApi.InwOaClipPlane)state.CurrentView.ClippingPlanes().Last();

            //assign the geometry vector with the plane
            sectionPlane.SetValue(sectionPlaneNormal, 1.0);

            // ask the sectioning plane uses the new geometry plane
            cliPlane.Plane = sectionPlane;

            // enable this sectioning plane
            cliPlane.Enabled = true;
}Create NavisWorks Section Box via .Net API
With .Net Api section box might be created as valid JSON object and assign to current View:
private void createSectionPlane(double centerX, double centerY, double CenterZ)
{

double halfSize = 5;
string clippingPlanesJson =
           "{\"Type\": \"ClipPlaneSet\"," +
            "\"Version\":1,\"OrientedBox\":" +
           "{\"Type\":\"OrientedBox3D\"," +
            "\"Version\":1,\"Box\":" +
"[" +
    "[";
clippingPlanesJson += (centerX - halfSize).ToString() + ",";
clippingPlanesJson += (centerY - halfSize).ToString() + ",";
clippingPlanesJson += (centerZ - halfSize).ToString() +
"],[" +
clippingPlanesJson += (centerX + halfSize).ToString() + ",";
clippingPlanesJson += (centerY + halfSize).ToString() + ",";
clippingPlanesJson += (centerZ + halfSize).ToString() +
     "]" +
"],";
clippingPlanesJson += "\"Rotation\":[0,0,0]},\"Enabled\":true}";
Autodesk.Navisworks.Api.Application.ActiveDocument.ActiveView.SetClippingPlanes(clippingPlanesJson);Add Sections Planes via Bridge COM
Add Sections Planes via Bridge COM
published att Autodesk Forum by bvgarbar
private void CreateSectionBox(Document doc, DocumentCurrentSelection selection)
{
var currentViewPoint = doc.CurrentViewpoint;
var viewPointValue = currentViewPoint?.Value;
var planes = viewPointValue?.InternalClipPlanes;
if (planes == null) return;

planes.SetMode(LcOaClipPlaneSetMode.eMODE_BOX);
if (planes.GetMode() != LcOaClipPlaneSetMode.eMODE_BOX) return;
BoundingBox3D box = selection.SelectedItems.BoundingBox();
//planes.FitToBox(box);
planes.SetBox(box);
planes.SetEnabled(true);
currentViewPoint.Value.ZoomBox(box);
}