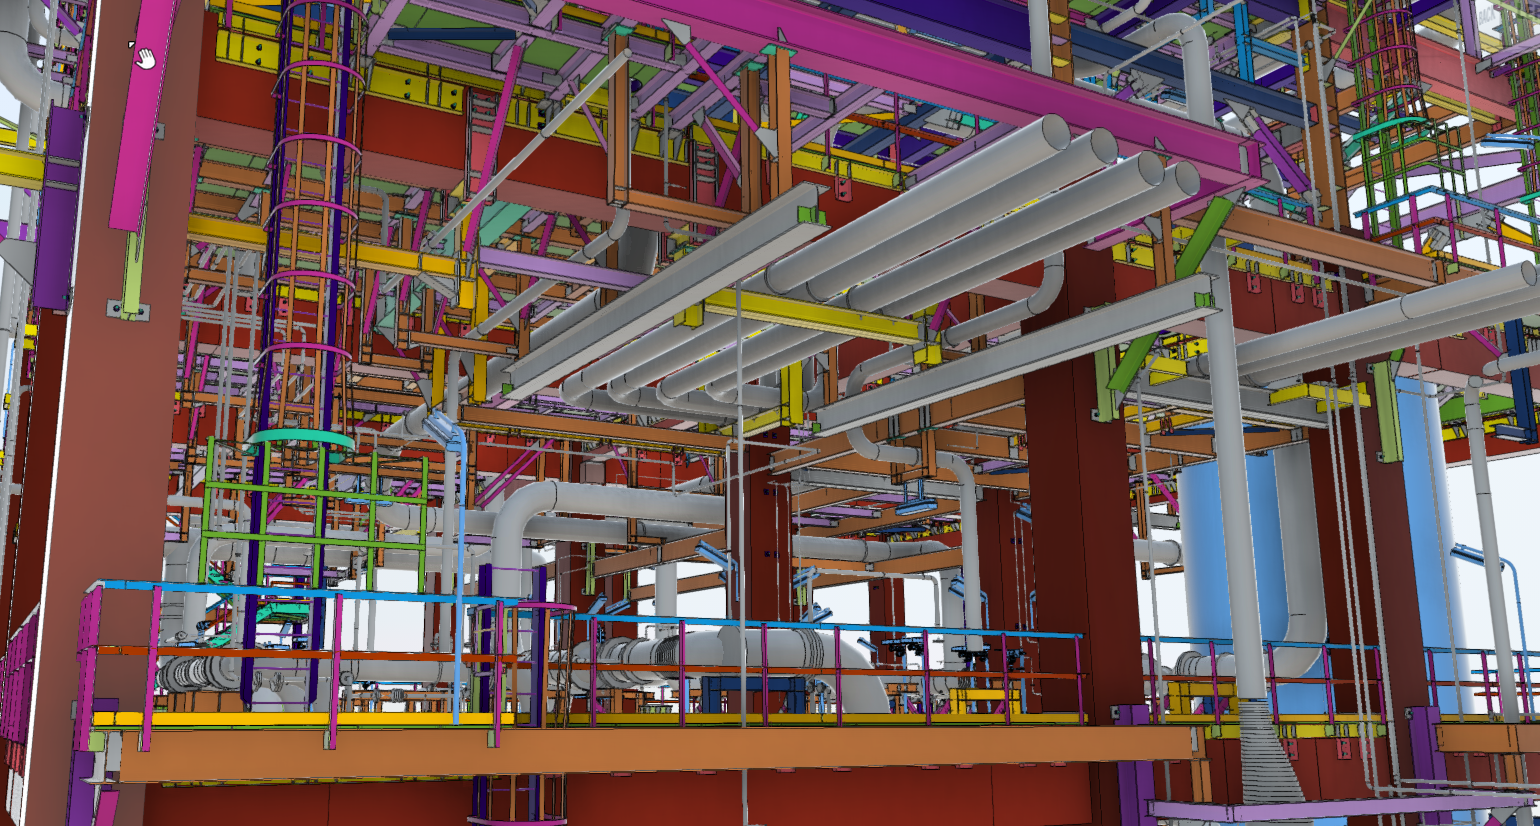
Why Autodesk Forge Viewer is so fast.

Why Autodesk Forge Viewer is so fast

The short answer: the Forge Viewer (internally called LMV, Large Model Viewer) barely uses Three.js as a rendering engine. It uses a forked r71 for the math library, the WebGL state wrapper and the material/shader plumbing, and replaced everything above that with its own machinery built for one job. The Three.js version is obsolete because nothing they depend on lives in the parts that changed since 2015, and upgrading would mean re-porting a decade of divergence for no gain.

What actually makes the difference:

  • No scene graph. Three.js gives every mesh an Object3D with a matrix, a parent, children, and a per-frame updateMatrixWorld walk. LMV stores a model as a flat FragmentList: packed typed arrays for transforms, bounds, material ids and geometry ids. A million fragments is a few contiguous buffers, not a million JS objects. That is cache-friendly, garbage-free and trivially iterable.
  • BVH-driven, screen-size-aware traversal. The SVF/OTG loader ships a precomputed bounding volume hierarchy. Each frame the iterator walks it front to back, frustum-culls whole subtrees, and skips anything whose projected size is below a pixel threshold. Modern Three.js frustum-culls per object and draws everything that passes, including thousands of bolts that cover half a pixel.
  • Progressive, time-budgeted rendering. LMV does not try to draw the whole model each frame. It draws the largest, nearest fragments within a frame budget, presents that, and keeps filling in over subsequent frames while the camera is still. When you orbit, it drops the tail and stays at frame rate. Three.js has no notion of “good enough for this frame”; the frame takes as long as the draw list takes.
  • Consolidation and instancing at load time. Fragments sharing a material are merged into large buffers, and repeated geometry is drawn instanced. Draw calls drop by one or two orders of magnitude. Three.js has BatchedMesh and InstancedMesh now, but you have to build that yourself, and most loaders produce one mesh per element.
  • Compact geometry format. Interleaved vertex buffers, quantized positions and packed normals, deduplicated geometry hashes across models in OTG. Less GPU memory, less upload, more of the model fits.
  • GPU-side picking and overlays. An id buffer is rendered alongside the colour buffer, so selection and hover are a pixel read, not a CPU raycast against millions of triangles. Selection highlight, ghosting and section planes are done through render targets and a single uber-shader rather than by swapping materials and redrawing.
  • Streaming and paging. Geometry loads on demand in BVH priority order, so the big visible stuff appears first, and it can unload geometry under memory pressure. The viewer is usable long before the model is fully resident.

So, the frame rate is not a property of the Three.js version. It comes from the file format, the flat data model, the BVH and the progressive renderer, which is why Autodesk had no incentive to chase upstream.

One correction to the premise: other engines do reach this class. xeokit uses data-texture geometry with the same flat philosophy, That Open Engine builds fragment models on modern Three.js, and Speckle takes a similar path. What they share with LMV is that they abandoned the per-object scene graph. A stock Three.js app with one mesh per element cannot get there, and that is the comparison most people are making.
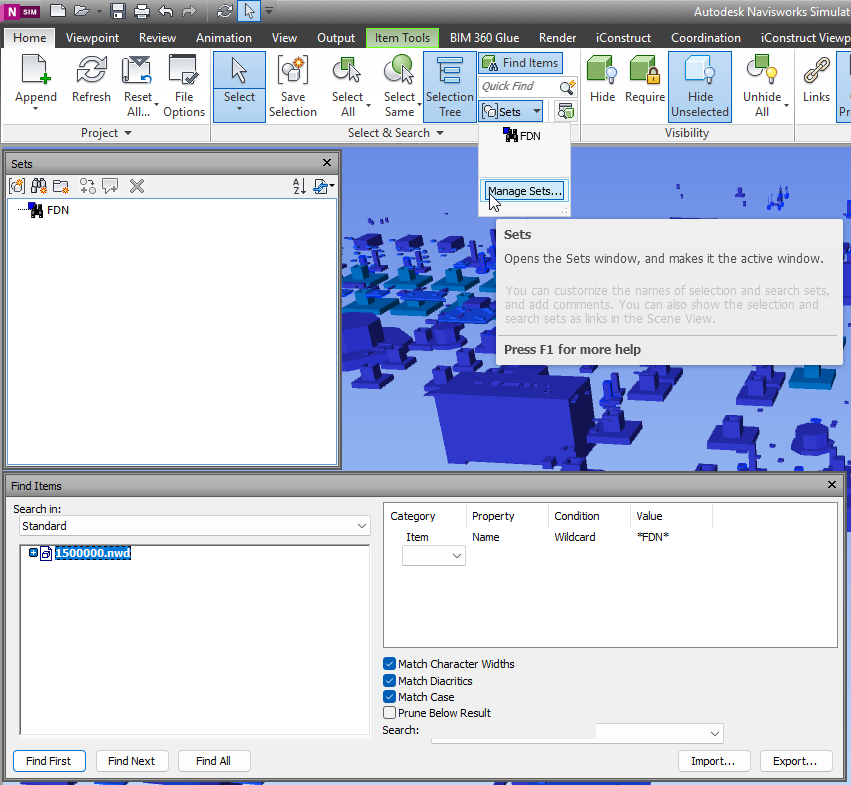
NavisWorks – SearchSet’s

With NavisWorks Simulate and Manage you can use Find Items panel to search across details. Usual flow – is to identify Category and properites which allow to find right element. Then design the query. If query is correct – you can proceed with result, if not you can adjust query. When you query is perfect, and for some reason you may need it again – sets are desinged to help you.

When you get collection of search sets – it might be userfull to export it and use same set with another NavisWorks models. So lets dive deeper it this matter.

NavisWorks Search Sets

Continue reading →

How to create a Table and fill in its cells with .NET

originally this article was available at

https://adndevblog.typepad.com/autocad/2012/05/how-to-create-a-table-and-fill-in-its-cells-with-net.html

But now this source is not available anymore. So this is copy paste from web-archive for my own memory

05/16/2012

How to create a Table and fill in its cells with .NET

By Xiaodong Liang

The code below shows how to create a table and fill in its cells. Some obsolete methods of Table are still visible. You will receive a warning in compiling if using obsolete methods. Please use the newest methods.

[CommandMethod("testaddtable")]
public void testaddtable()
{
    Database  db =
        HostApplicationServices.WorkingDatabase;
 
    using (Transaction tr =
        db.TransactionManager.StartTransaction())
    {
        BlockTable bt =
            (BlockTable)tr.GetObject(db.BlockTableId,
                                    OpenMode.ForRead);
        ObjectId msId =
            bt[BlockTableRecord.ModelSpace];
        BlockTableRecord btr =
            (BlockTableRecord)tr.GetObject(msId,
                                OpenMode.ForWrite);
        // create a table
        Table tb = new Table();
        tb.TableStyle = db.Tablestyle;
        // row number
        Int32 RowsNum = 5;
        // column number
        Int32 ColumnsNum = 5;
        // row height
        double rowheight = 3;
        // column width
        double columnwidth = 20;

        // insert rows and columns
        tb.InsertRows(0, rowheight, RowsNum);
        tb.InsertColumns(0, columnwidth, ColumnsNum);
        tb.SetRowHeight(rowheight);
        tb.SetColumnWidth(columnwidth);

        Point3d eMax = db.Extmax;
        Point3d eMin = db.Extmin;
        double CenterY = (eMax.Y + eMin.Y) * 0.5;
        tb.Position = new Point3d(10, 10, 0);

        // fill in the cell one by one
        for (int i = 0; i < RowsNum; i++)
        {
            for (int j = 0; j < ColumnsNum; j++)
            {
                tb.Cells[i, j].TextHeight =  1;
                if (i == 0 && j == 0)
                    tb.Cells[i, j].TextString =
                        "The Title";
                else
                    tb.Cells[i, j].TextString =
                        i.ToString() + "," + j.ToString();
                tb.Cells[i,j].Alignment =
                    CellAlignment.MiddleCenter;
            }
        }

        tb.GenerateLayout();
        btr.AppendEntity(tb);
        tr.AddNewlyCreatedDBObject(tb, true);
        tr.Commit();
    }
}

NavisWorks C# Pick Point

Lest deep dive in Autodesk NavisWorks api.

First, we need a tool plugin with mouse down Interceptor:

using Autodesk.Navisworks.Api;
using Autodesk.Navisworks.Api.Plugins;

    [Plugin("PickModelPointPlugin", "ADSK")]
    class PickModelPointPlugin : ToolPlugin
    {
        public override bool MouseDown(View view, KeyModifiers modifiers,
                                         ushort button, int x, int y,
                                         double timeOffset)
        {
                // get current selection
                PickItemResult pickedResult = view.PickItemFromPoint(x, y);

                if (pickedResult != null)
                {
                    Autodesk.Navisworks.Api.Point3D clickedPoint =          
                                                        pickedResult.Point;

                // Sent to static exchange, to make click result available 
                // for Addin Plugins in namespace
                // convert to custom Point, to reduce coupling. 
                StaticExchange.PickedPoint = new cPoint(clickedPoint.X,
                                                        clickedPoint.Y,
                                                        clickedPoint.Z);
                }
            return base.MouseDown(view, modifiers, button, x, y, 
                                  timeOffset);
        }
    }

First, we need a tool plugin with mouse down Interceptor:

   class StaticExchange
    {
        public static event PointDelegate PointUpdate;
        public delegate void PointDelegate(PointEventArgs e);
        private static cPoint point;

        public static cPoint PickedPoint
        {
            get {
                    return point;
                }
            set {
                    point = value;
                    PointUpdate?.Invoke(new PointEventArgs(point));
                }
        }
    }

Obviously, we may need to do some actions as soon as user click on something. That`s why event delegate has been presented in StaticExchange.
Finally, in our Addin we call A plugin and await for result. In my case it’s a form with buttons, so on a button I bind click handler:

private async void btnPickNavisPoint_Click(object sender, EventArgs e)
{
      try { 
            //search for plugin availability 
            ToolPluginRecord toolPluginRecord =                    
                   (ToolPluginRecord)ANA.Application.Plugins
                       .FindPlugin("PickModelPointPlugin.ADSK");
        //set Plugin for execution                                
        ANA.Application.MainDocument.Tool
            .SetCustomToolPlugin(toolPluginRecord.LoadPlugin());
                //Subscribe on event
                StaticExchange.PointUpdate += onPointUpdate; 
                //Patiently wait for result
                Point3D result = await WaitForUserChoiceAsync();

                MessageBox.Show(
                    "Point: "+
                     "X:" + result.X.ToString("0.##") + " " +
                     "Y:" + result.Y.ToString("0.##") + " " +
                     "Z:" + result.Z.ToString("0.##") + " ");
            }
            catch (Exception ex)
            {
                MessageBox.Show(ex.Message);
            }
            finally
            {
                //Unsubscribe and switch back to Tool.Select
                StaticExchange.PointUpdate -= onPointUpdate; 
                ANA.Application.MainDocument.Tool.Value = Tool.Select;
            }
        }

And now final peace – where magic is live.

  1. Declare TaskCompletionSource,
  2. Wrap it into WaitUserChoice.
  3. In event handler call Source and pass argument.
        private TaskCompletionSource<Point3D> _userChoiceTcs;

        private async Task<Point3D> WaitForUserChoiceAsync()
        {
            // Create a new TaskCompletionSource for this operation
            _userChoiceTcs = new TaskCompletionSource<Point3D>();
            try
            {
                Point3D result = await _userChoiceTcs.Task;
                return result;
            }
            finally
            {
                // Clean up
                _userChoiceTcs = null;
            }
        }

        private void onPointUpdate(PointEventArgs p)
        {
            //Here come the user click result
            _userChoiceTcs?.TrySetResult(new Point3D(p.Point.X,
                p.Point.Y,
                p.Point.Z));
        }

As a result we got message with coordinates of clicked points, as soon as user click on some object.